
Atari 7800 No-Cut Video Connector Box
1. Introduction
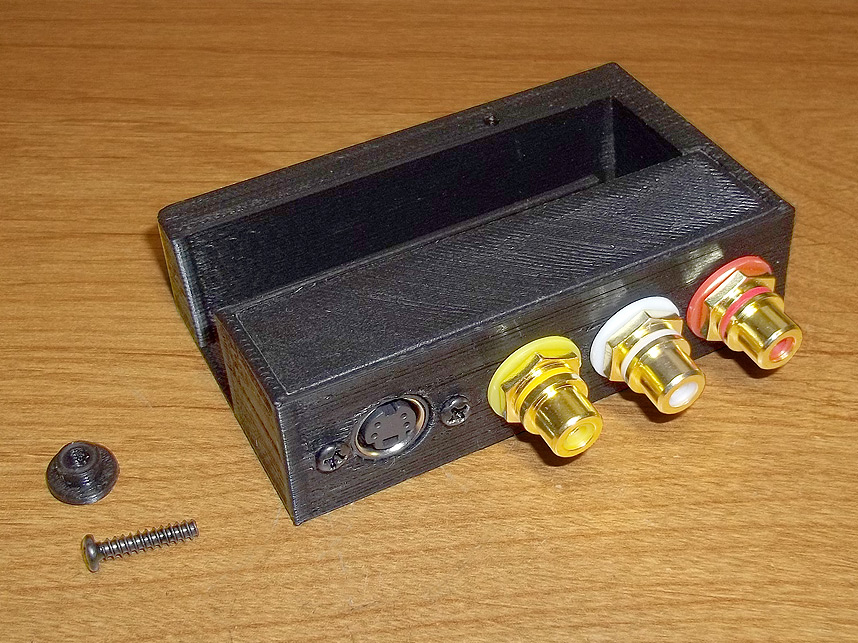
This box enables the mounting of common video/audio connectors without having to cut or drill holes in your Atari 7800 console shell- what was once a permanent proposition is now completely reversible with little chance of damaging aging and brittle plastic.
2. Mounting & Wiring
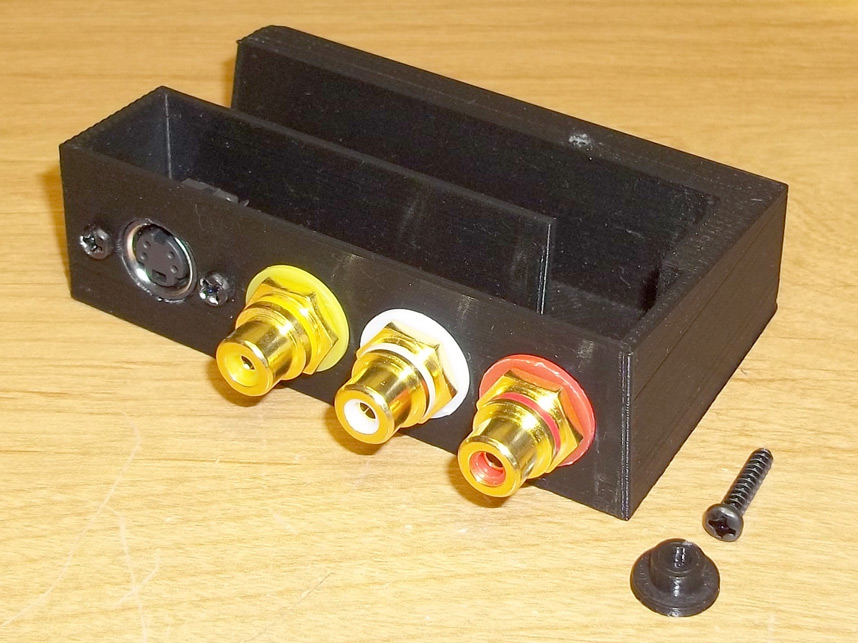
The two 8mm machine screws are intended for the installation of the included S-Video connector. The longer 14mm screw is to be used with the small circular spacer to act as an anchor which will be explained later in this guide.
For now, focus on soldering wire to the various connectors before mounting them in the box and make sure to unify the grounds.
It's recommended that you use color coded wire so you don't mix up the connections later, for example, you could use:
- Red Wire: Right Audio
- White Wire: Left Audio
- Yellow Wire: Composite Video
- Orange Wire: S-Video Luma
- Blue Wire: S-Video Chroma
- Brown Wire: Ground
3. Sealing & Fitting
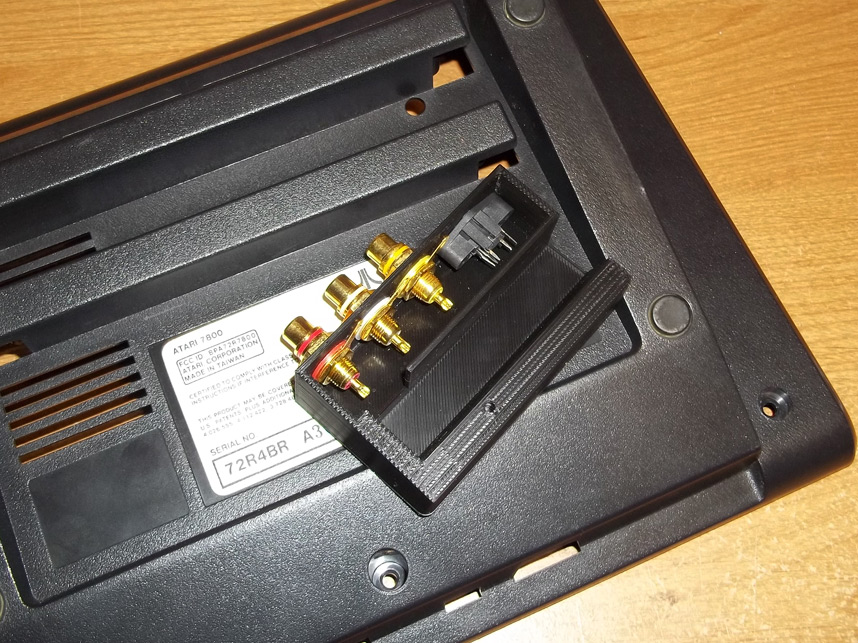
The connector box slips into place over the bottom center bar at the back where there is a round circular hole. Note the larger square opening close to it- this is where you will be routing your wiring.
Once you're ready to attach everything, be sure that you've slid the top cover of the connector box into place so it will seal things up.
4. Placement
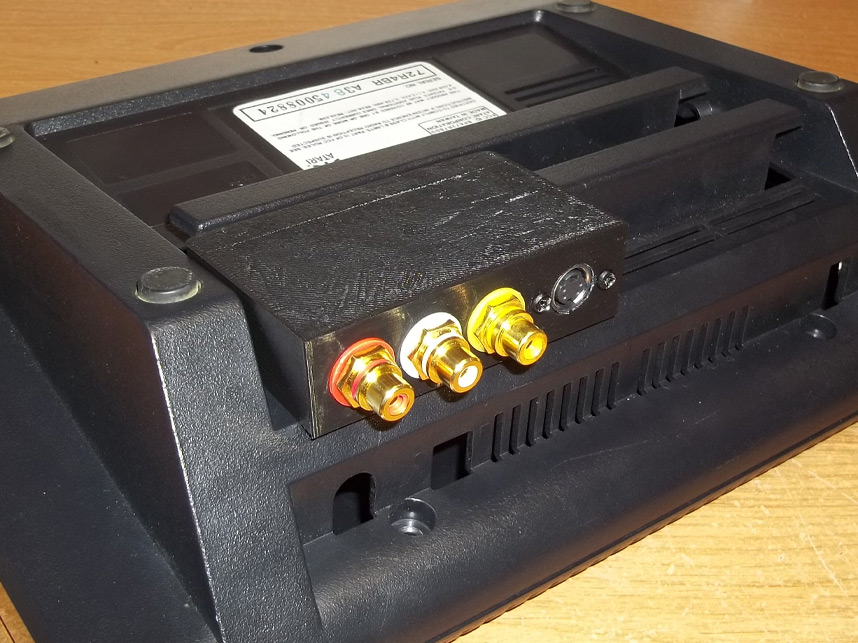
This is how the connector box should sit in place on the bottom half of the Atari 7800 shell.
Make sure that you've popped in the connector box lid before anchoring it in with the 14mm screw.
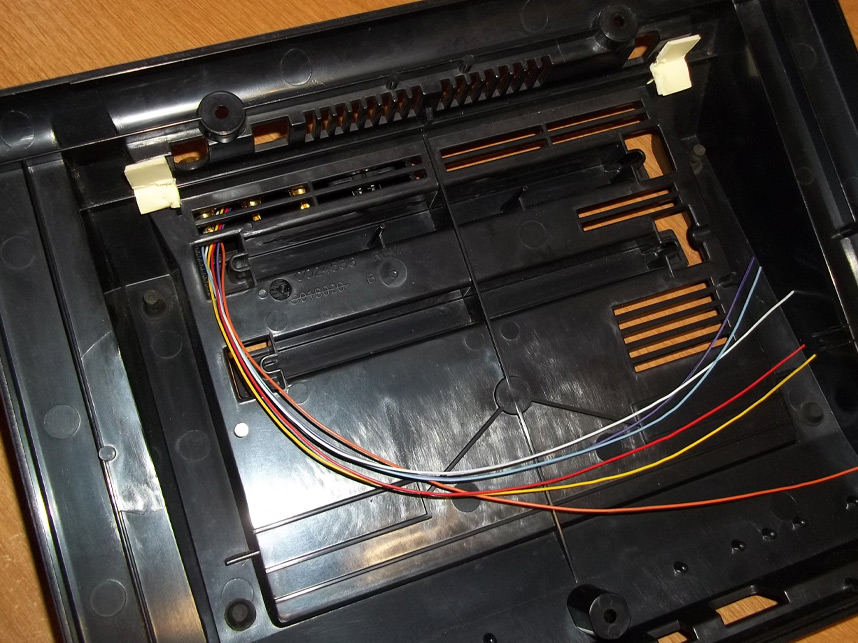
5. Routing
A good example of how the connector wiring should be routed into the 7800 housing. Make sure your wires are long enough!
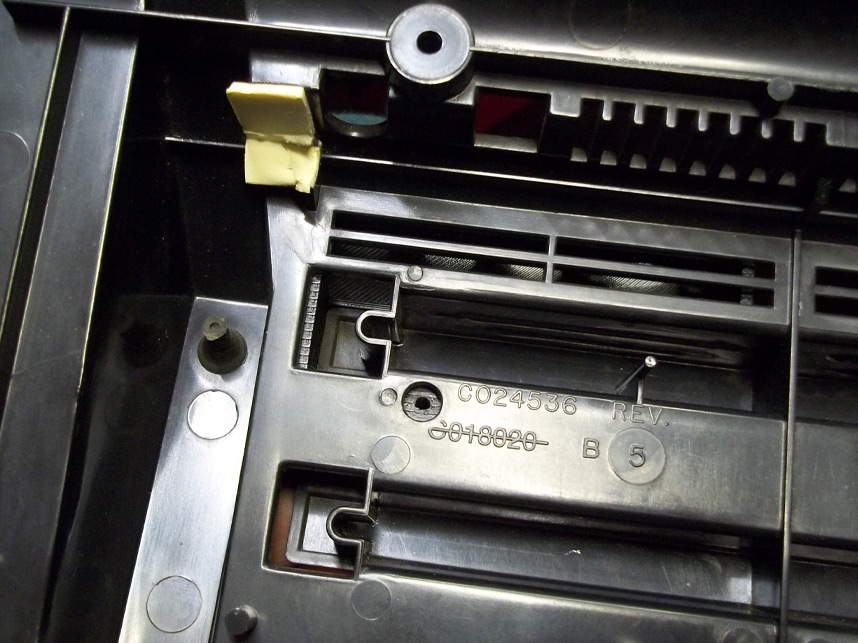
6. Anchor Location
There is a hole in the connector box that matches with a premade hole in the console shell, this is where you place the included round spacer washer and secure it with the 14mm machine screw.
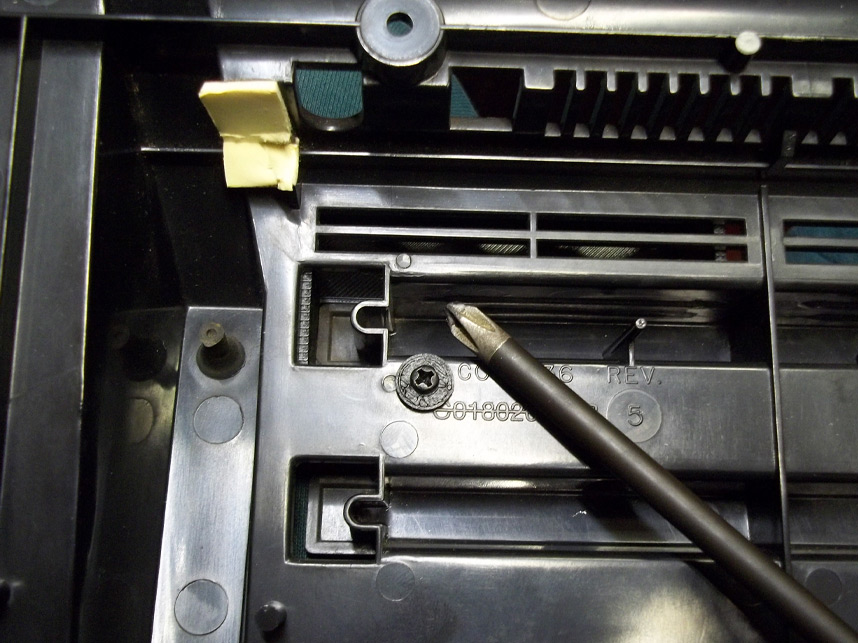
7. Screwing In Anchor
Visual example of the spacer screwed in place. Your connector box should now be snugly held in and shouldn't wobble or jostle.
If it is still loose, then you have a 7800 mold variation with thinner plastic walls for its shell. All you need to do is lightly sand or file down the underside of the spacer washer so it's a little thinner to sit in the premade hole, before screwing it in.
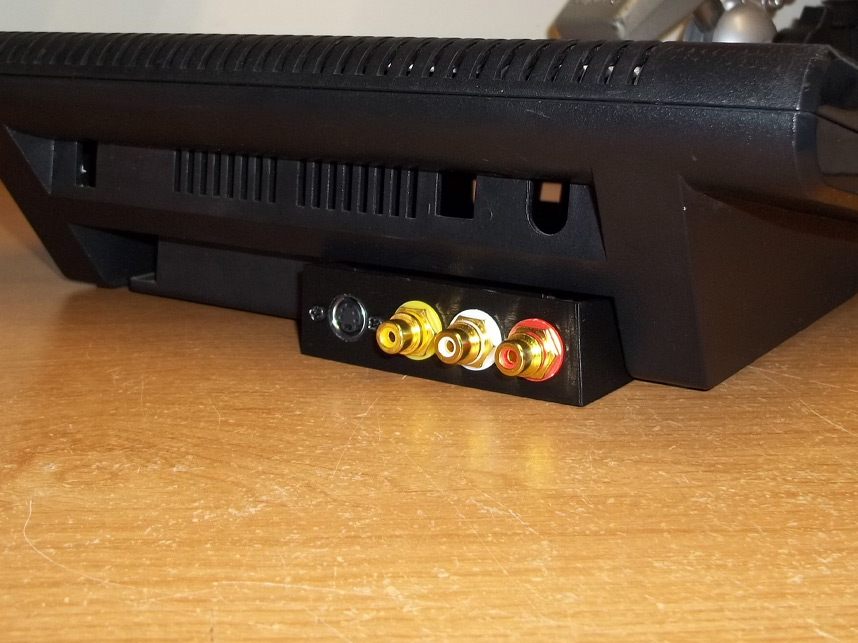
8. Closure
From here you are free to make your relevant connections to the video board and audio points of the 7800 console itself, test everything and close things up.